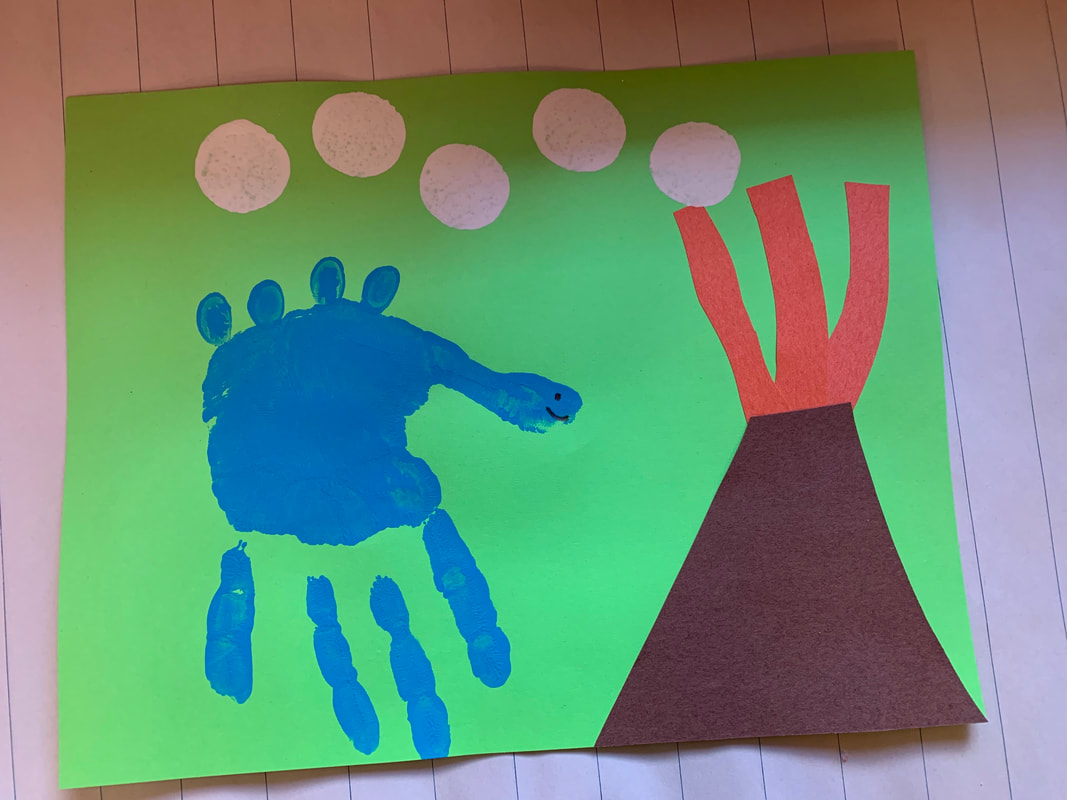
Handprint dinosaurs
You will need: acrylic paint, a paint brush, coloured paper, glue, and a willing 5-6 year old!
Paint your kiddo's hand and press it gently onto the background paper to make the dinosaur body. Using their thumb or index finger they can add bumps, spikes, a tail in the same colour or a complementary colour. We try to encourage them to take the lead as the artist!
Using brown construction paper or brown paint make the volcano. When it is dry add on the lava - you can have it pouring down the mountain too, if you like.
Add some puffs of steam/smoke in the sky using white paint, If you want you can add tuffs of grass or plants near the dinosaur.
Have fun!
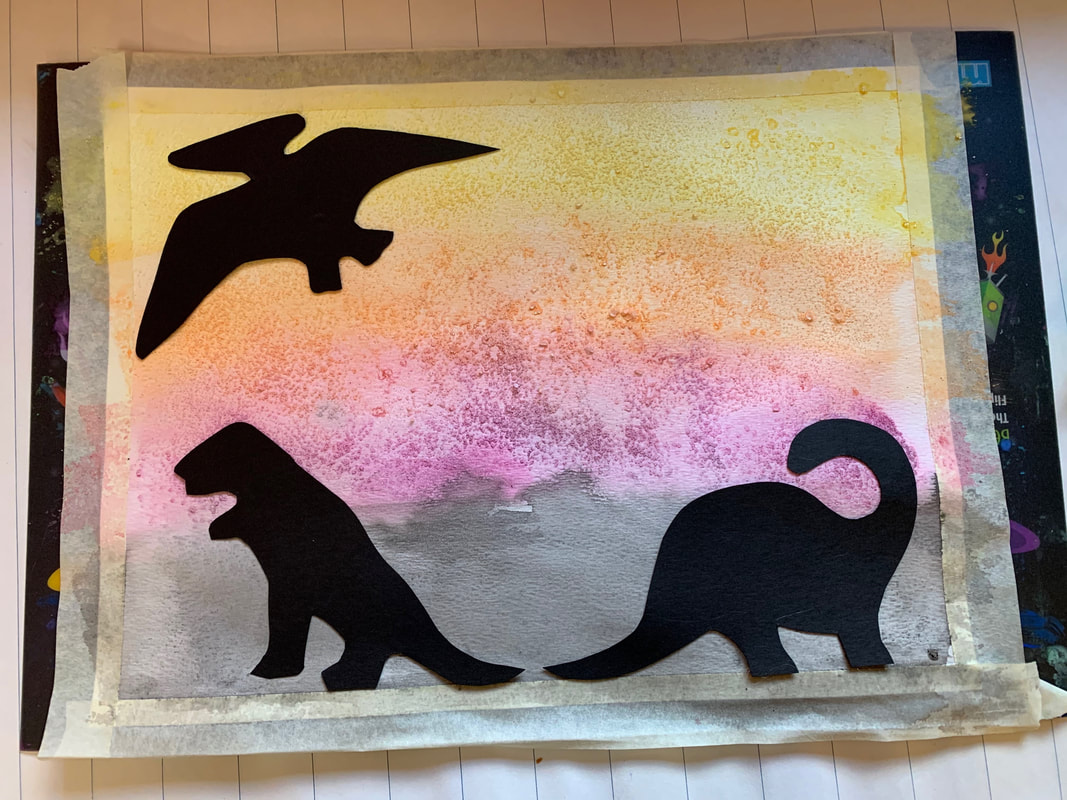
Water Colour Dinosaur
You will need: a piece of white paper (water colour paper works best but if you can't find any plain white paper does work.), tempera or water colour paints, a brush, a dish of clean water, a dish to rinse the brush in, table salt, masking tape, a piece of cardboard or a placemat or something to tape your paper to while it dries (creates a nice border and keeps the artwork from curling up), black construction paper.
Tape your piece of paper to the cardboard with the masking tape.
Using a clean paintbrush make the whole piece of paper wet.
Starting with the lightest colour and using lots of water make stripes of colour across the paper - if you hold the paper up between colours and let it drip down a little bit it will look like the colours are dancing together when it dries. You can go all the way to edge and onto the tape to make sure there are no white spots. Continue with all the colours from lightest to darkest.
While the paper is still wet sprinkle on a bit of salt - fine, coarse, sea salt - whatever you have - it soaks in the colour and looks cool when it dries.
Trace some dinosaurs onto the black construction paper using a white or yellow crayon or pencil crayon. Carefully cut them out and glue them onto your art when it is completely dry - put the glue on the side with the crayon to hide any residual lines.
Gently pull the masking tape from around the edges and write your name and the year in the border at the bottom.
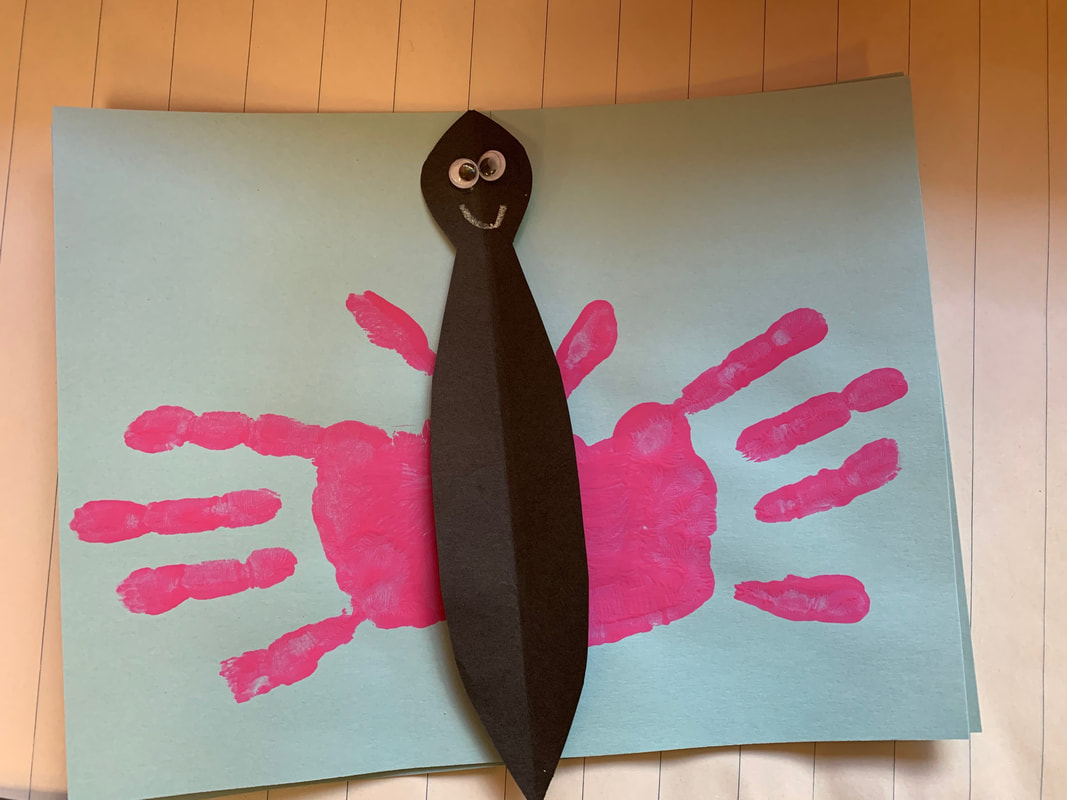
Handprint butterfly
You will need:
Acrylic paint, paint brush, googley eyes, a pipecleaner (not shown above) for antennae, black construction paper, glue, tape
Paint your kiddo's hands one at a time and gently push them down onto the paper with the thumbs pointing up. Cut out a butterfly shaped body from the black construction paper - we make one fold and cut on the fold to get an almost symmetrical body. Bend a pipe cleaner into a V and tape it on the back of the body for antennae. Glue the body onto the paper in between the handprints - it can stick up for the 3-D effect or sit flat - it's up to the artist! Add on some googley eyes and a smile!
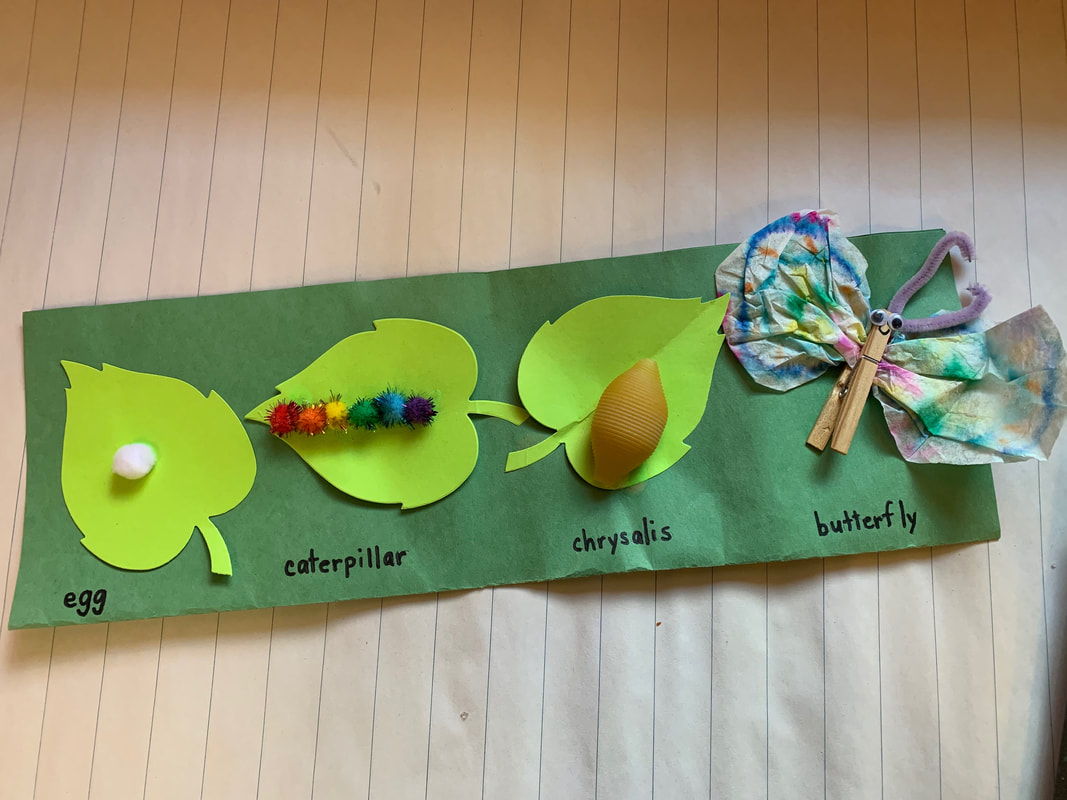
Life cycle of a butterfly
You will need: a long piece of green or blue construction paper for the background, light green or darker green paper to make the leaves, a white pompom for the egg, multicolour pompoms and googley eyes for the caterpillar, a large shell noodle for the chrysalis, a clothespin, coffee filter, googley eyes, markers, bingo dabbers or food colouring, a spray bottle, and a pipe cleaner for the butterfly, and hot glue for assembly or white glue and time for it to dry.
1. Fold the long green paper in half and then in half again to create 4 spots to work in.
2. Glue green leaves in the first 3 spots.
3. Glue the white pompom on to the first leaf - this is the egg.
4. Glue the multicolour pompoms onto the second leaf to make the caterpillar - we try to follow the ROYGBIV of the rainbow but you are the artist so be creative! Pick which end is the head and glue on the eyes,
5. Glue the large shell noodle on to the third leaf,
6. Using markers or bingo dabbers or food colouring decorate the coffee filter. Spritz it lightly with water from the spray bottle to make the colour dance. Set aside in a safe spot to dry.
7. Once your butterfly wings are dry crinkle the coffee filter gently in the middle and pinch it in the clothespin - you can adjust how much crinkle you want.
8. Fold a pipecleaner into a V and pinch it in to the clothespin with a dab of glue to keep it closed.
9. Add googley eyes and a smile to your butterfly and glue the clothespin into the 4th/last spot on your background paper.
10. Use a pencil first to add the words: egg, caterpillar, chrysalis, butterfly into the proper spots
11. Go over top with a black marker to make the words stand out.
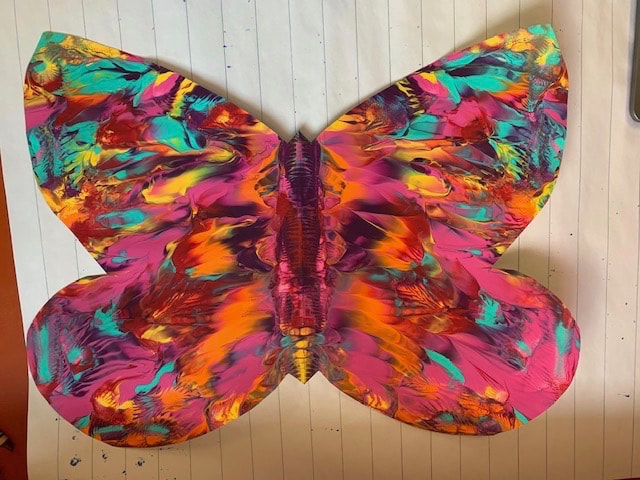
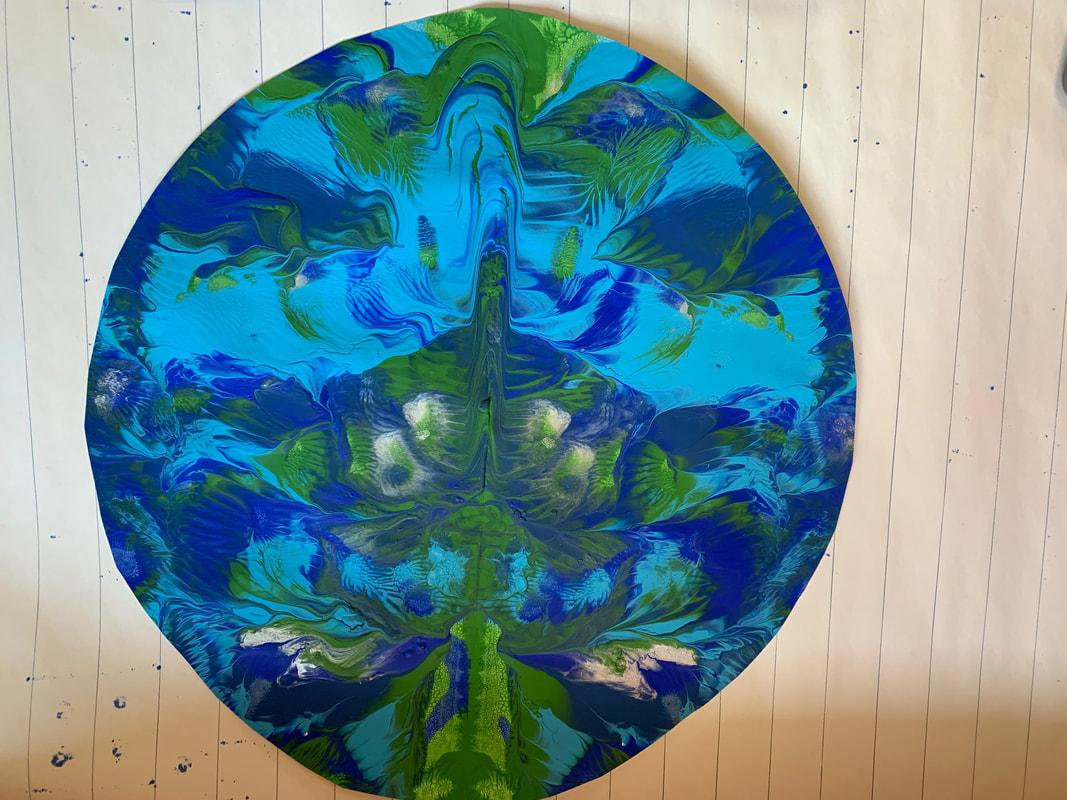
Symmetry butterfly or planet
You will need: acrylic paint, an old newspaper, a thick paper (like an old file folder), something round to trace if you are making a planet, or create a half of a butterfly for a tracer.
1. Fold your art paper in half or if you are using an old file folder make sure it is closed.
2. Place your tracer on the fold and trace your half circle or half butterfly onto the back side of your art paper.
3. Open up the newspaper and place your open art paper on it.
4. Squirt the paint randomly all over HALF of your art paper. Use whatever colours make you happy! Don't go too close to edge or it will just gush out.
5. Close your art paper and then the close the newspaper (it is there to catch any gushing paint).
6. Gently rub the newspaper to spread the paint.
7. Carefully open up the newspaper and open up your art piece - if there are still white spots or you want to add more colour repeat steps 4-7 until you are happy. Voila! The magic of symmetry.
8. Put your art somewhere to dry - it may take a couple of days.
9. Carefully fold the art piece so you can cut it out on the line you traced at Step 2. Do not cut the fold or you will have to tape your masterpiece back together.
